How to Make Kimekomi Doll (Ichimatsu Doll)

Making a hole for the head

  1. Attach the head part or hands parts on the doll, and make marks on the doll by pencil.
  2. Then make a hole with a chisel.
  3. Make a hole until head and hands can be placed in.
  4. Make a larger hole so that fabrics can be pushed in this hole as well.

Making a hole for the hands

  1. Make holes for hands as well.

Polishing

  1. Smoothen the body by a sandpaper.
  2. Use both Coarse sandpaper and fine sandpaper to make it smoother.
  3. When there are undigged groove lines, Use Cut-out knife to cut deeper the groove.
  4. Make sure that head and hands can be attached into the doll.

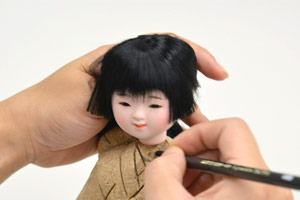
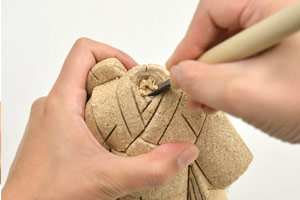
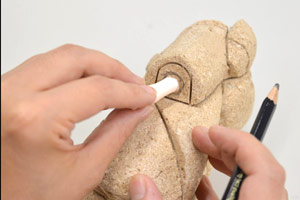
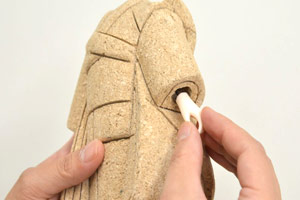
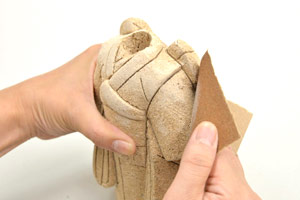
That's it for the preparation for the body.

Cutting the patterns

  1. Cut the paper pattern along the line.
  2. Match the paper pattern to each part of the wooden body.
  3. Check the paper pattern if it matches the pattern of the fabric,
  4. Fabrics have crusts on both sides. Line them on the side.
  5. If the fabrics has no crust, check out the backside and, seams go sideway. That's the right direction.
  6. Match the paper pattern and body parts.
  7. Match the direction of the paper pattern and fabric's up-and-down.
  8. Pick the fabric texture up, and pin the paper pattern.

Cutting down the fabrics

  1. Pin and Align all the paper patterns in right directions
  2. Cut the fabric along the paper pattern.
  3. If the fabric has extra space, Cut wider than the actual size.

Applying the fabrics

  1. Check out the position of the patterns and apply the fabric on the body.
  2. Put the rice glue into the groove.
  3. If the glue goes out from the groove, remove it with a towel.
  4. Adjust the direction and position of the fabric, then push the fabric into the groove.
  5. Attach the warp side of Scissors on the body, and cut around 1 to 2 mm of excess fabric.
  1. At the corner, push the fabric to the groove and cut the extra fabric on the side.
  2. Use both sides of spatula to push the fabric into the groove.
  3. On straight line, use flat part of spatula to push the fabric inside the groove.
  4. On the curve line, pull and squeeze the fabric little by little.
  1. Use a quick dry glue for pushing the fabric into the groove.
  2. Then, push the fabric on the edge later.
  3. Apply the other fabric using the same method.

Applying Obiage Sash

  1. Put glue into the groove.
  2. Push only one side of the flipped side of the Obiage fabric.
  3. Flip back the fabric and push it into the groove.
  4. Push to stretch the fabric.
  5. Then, Push both sides of the fabric.

Making beads

  1. Cut the fabric longer than the bead.
  2. Use just a little bit of quick dry glue. (Little amount of dry glue is enough for beads to stick.)
  3. Use anything like string for bead.
  4. Bend the fabric to wrap the string and glue the fabric.
  5. 4mm to 5mm position down to the thickness.
  1. Use Cut-out knife to cut deeper the groove of the bead.
  2. Put Starch glue into the groove.
  3. Match the thickness evenly.
  4. Cut both ends of the bead.

Applying Obi-belt.

  1. Apply the quick dry glue between Obi-belt and Kimono.
  2. Push the primary into the body.
  3. Just like the front side, Use the quick dry glue and push it on the backside.
  4. Attach the accessory with quick dry glue.
  1. Place the knot in the center and cut both ends.
  2. Push both ends with a quick dry glue.
  3. At this time, use a chisel to open more space.
  4. When it's tighter, cut both sides, and push it with quick dry glue.

Applying the head

  1. Finish up by placing all fabrics.
  2. Make sure that you attach the head and hands, both should fit the holes.
  3. Apply the glue on the hole and place the head and hands as well.

Applying the fan

  1. Place the fan in between the Obi and accessory.

Finishing

  1. Cut the hair and brush it with water.

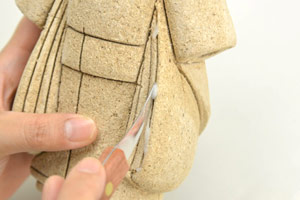
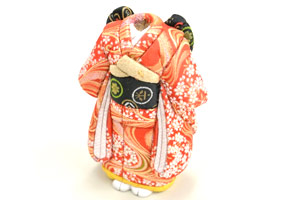
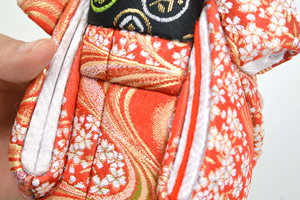
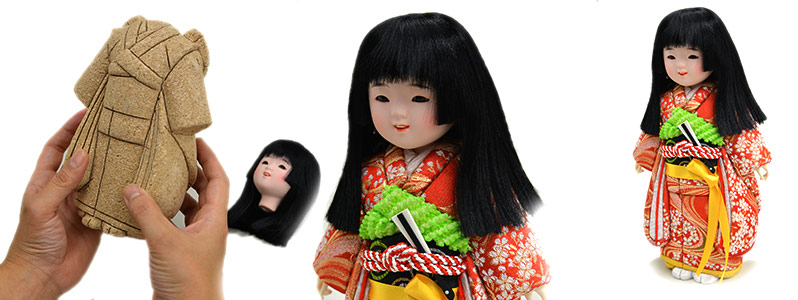
※That's it for making Kimekomi Dolls.